
I was wondering when you were going to get around to the sides of the fore end.
Looks excellent! Almost a shame to paint it with those nicely machined contrasting laminate stripes.
DIY - New Build Project
Re: DIY - New Build Project
Jason,
We don't want it to look pretty, ugly guns shoot better. Mind you some clear urethane would look good.
Jeff
We don't want it to look pretty, ugly guns shoot better. Mind you some clear urethane would look good.
Jeff

Re: DIY - New Build Project
No won't be getting painted with paint, that is too much work. It will be coated / painted with a clear epoxy same as my other laminated stock so you will be able to see the laminates including the alloy 
It has to be a bit pretty
It has to be a bit pretty
-
JasonF

- 7mm Rem Mag
- Posts: 1108
- Joined: Tue Feb 03, 2009 2:36 pm
- Favourite Cartridge: 7mm-08
- Location: Canberra region, NSW
Re: DIY - New Build Project
Good-o. Based on the colour of those glued areas, it should look more than a bit pretty.
-
Camel

- Ultimate AusVarminter
- Posts: 12084
- Joined: Sat May 28, 2011 8:51 pm
- Favourite Cartridge: 20-222 6x47 rem, 250
- Location: Northern Riverina NSW
Re: DIY - New Build Project
albow wrote:Oi Camel - are you paying attention at all
Check out the photo on page 4 you will see the trigger was done the same time as the inlet on the stock as it can be seen in the picture showing the inserts in the bottom of the stock......
-
curan

- .338 Lapua Magnum
- Posts: 2405
- Joined: Sat Aug 18, 2007 1:53 am
- Favourite Cartridge: 30/30
- Location: Mid North, South Australia
Re: DIY - New Build Project
Great thread Albow! I trained as a machinist, and I'm impressed!
Re: DIY - New Build Project
Thanks, I'm a bit slow but try not to be too roughcuran wrote:Great thread Albow! I trained as a machinist, and I'm impressed!
I have taken a bit of time to get a good finish on the stock to limit the need to sand it as that introduces the possibility to affect the nice straight surfaces of the stock that I spent getting right for the running surfaces and that it just too much hard work
All finishes are straight off the machine so I am happy with it so far. It will be a light sand just remove any of fine machining marks, smooth out the finish on the timber and then clear coat it.
Re: DIY - New Build Project
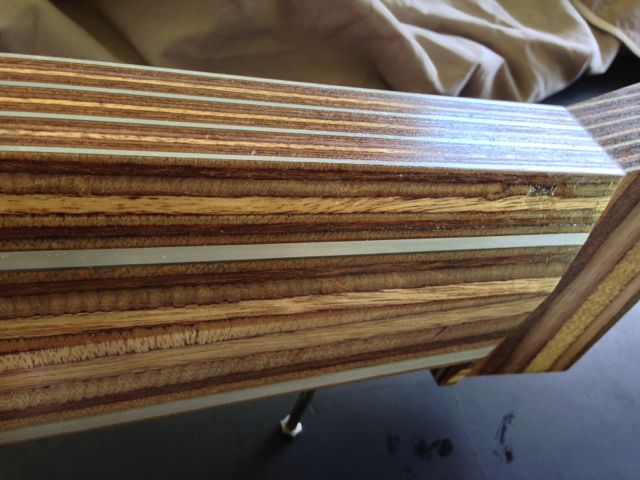
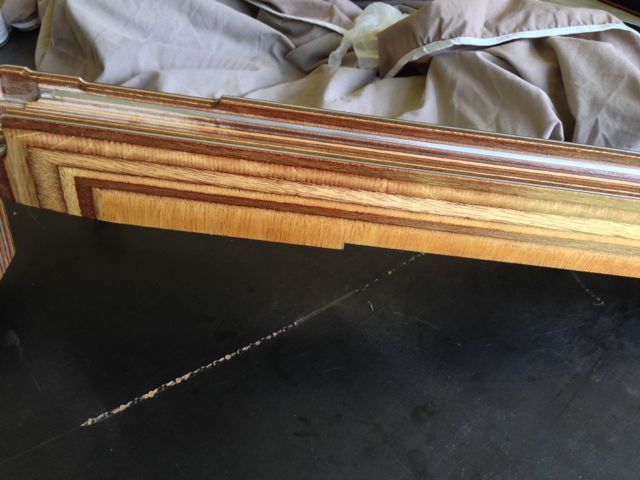
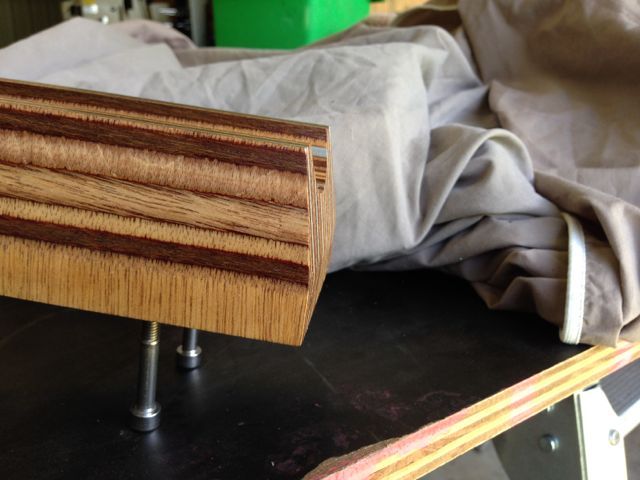
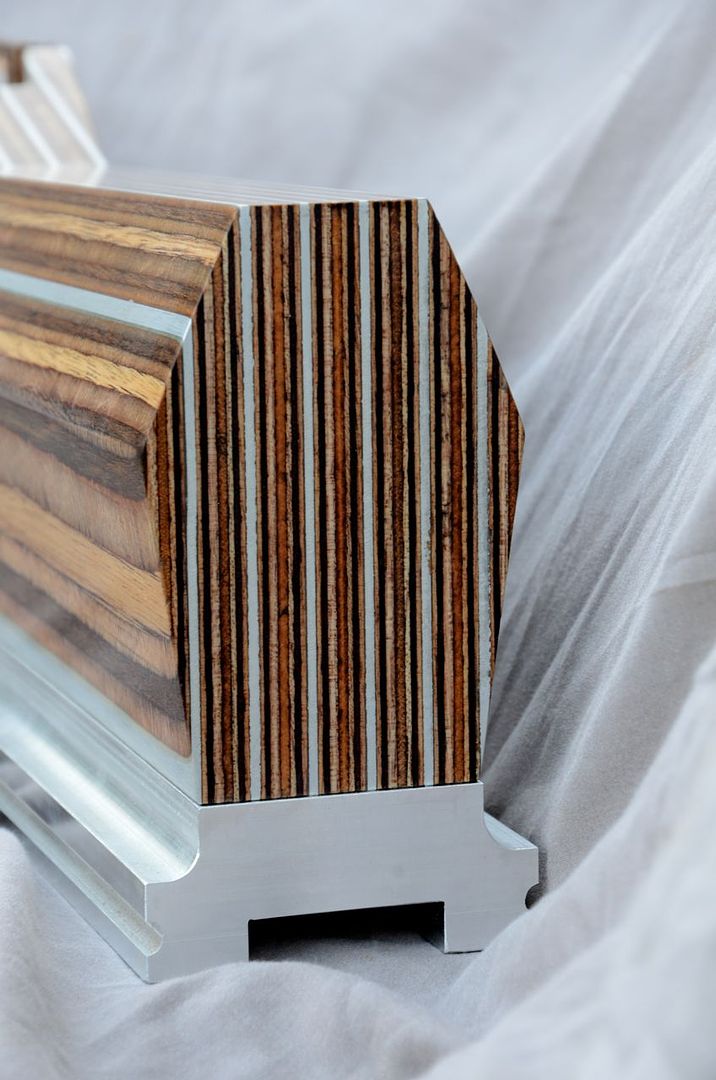
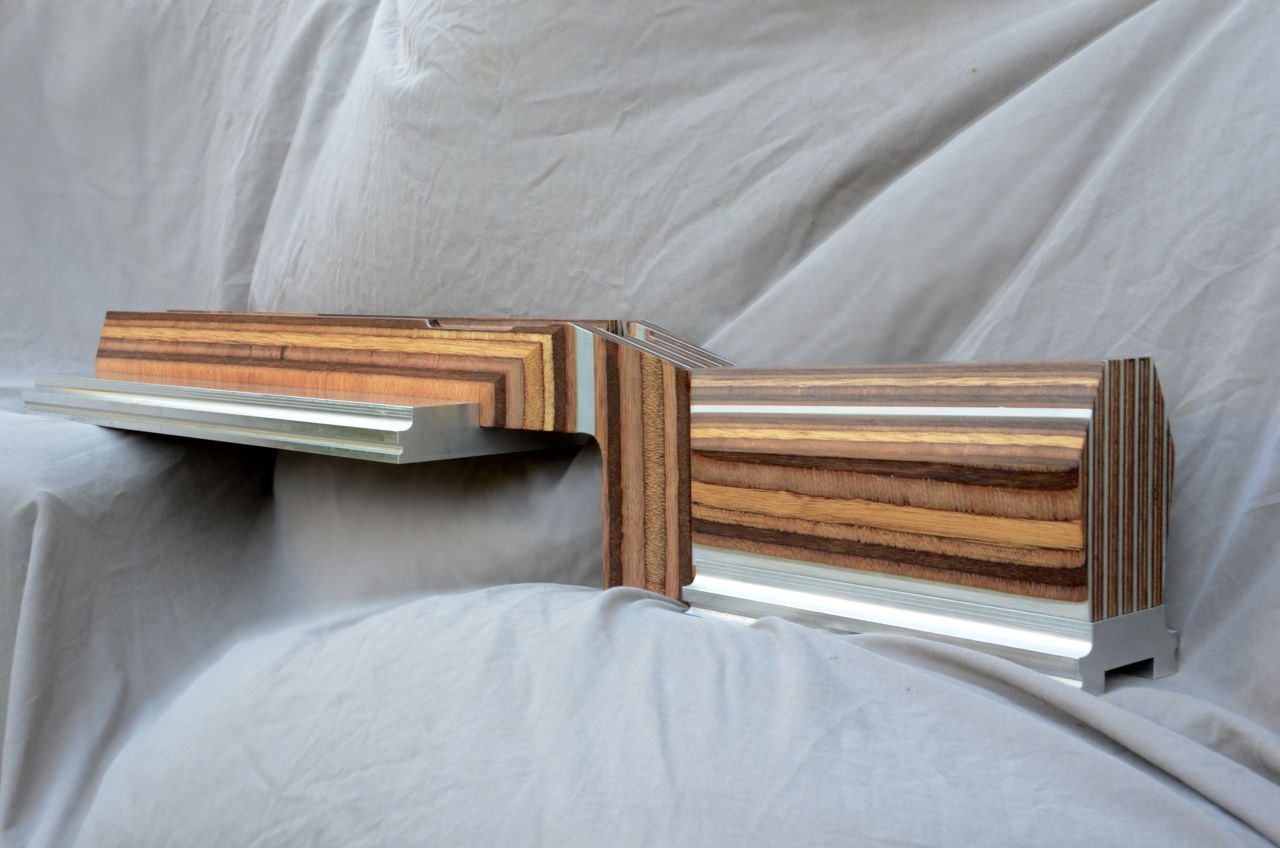
OK latest progress made on the stock is to cut the relief areas for the left feed port and bolt release (which can be seen in the second photo below), cut a taper on the front of the stock (can be seen in third photo below) to make it look less like sponge bob square pants and then put on the first coat of clear.
-
dg
- 25/06 Remington
- Posts: 834
- Joined: Thu Oct 12, 2006 10:48 am
- Favourite Cartridge: 6x47 lapua
- Location: narromine
Re: DIY - New Build Project
al
no doubt about you - it looks great and on schedule as well !!!!
BTW is the composite you used for the stock known as al-ply???
cheers
dave
no doubt about you - it looks great and on schedule as well !!!!
BTW is the composite you used for the stock known as al-ply???
cheers
dave
Re: DIY - New Build Project
Hey Dave
Yeah it could be called al-ply
This project is coming along well and on time although there are another couple of jobs I need to get done for blokes that have been put on the back burner to make sure this is done and ready.....
Will have to get a start on them this weekend
Yeah it could be called al-ply
This project is coming along well and on time although there are another couple of jobs I need to get done for blokes that have been put on the back burner to make sure this is done and ready.....
Will have to get a start on them this weekend
Re: DIY - New Build Project
Looking good Al,
I finished my rear rest today, so now have the rear adjustable going again, slightly different layout than before. This off season has been more about the bits around the gun, than the gun itself, but if it saves me a quarter inch here and there, it's worth it.
I will be testing tomorrow to make sure it all works together as intended.
Jeff
Re: DIY - New Build Project
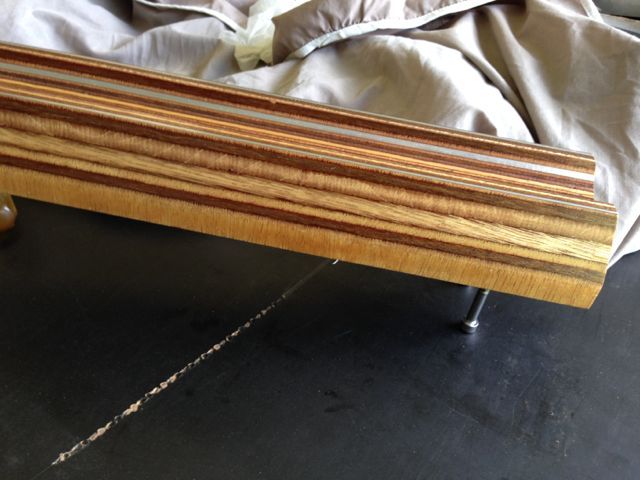
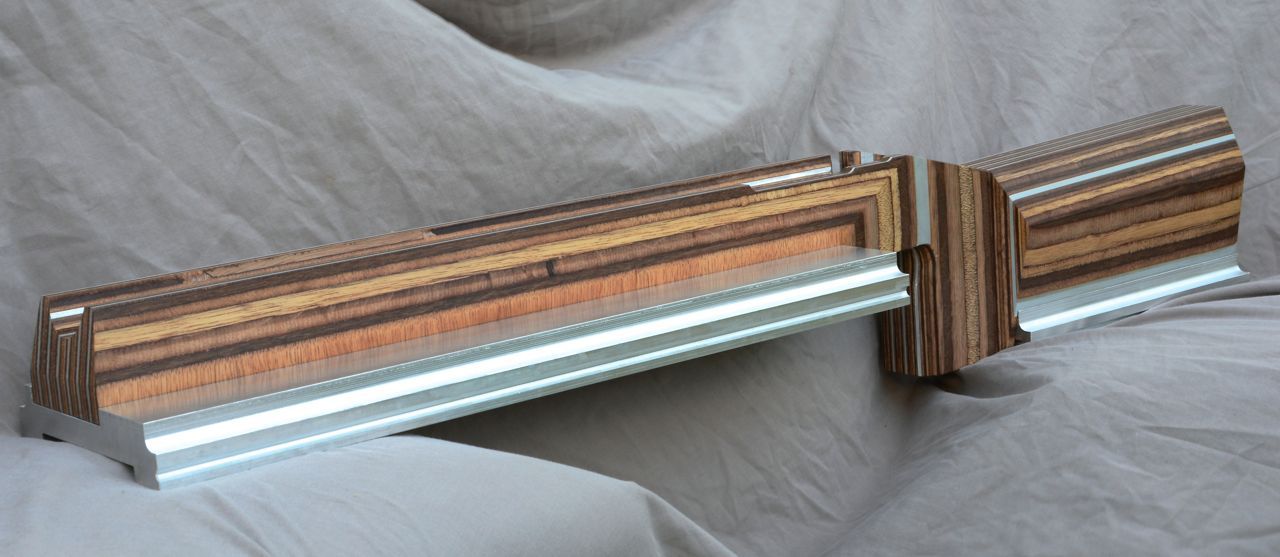
Alright just about at the business end of gluing in the action as the stock is now complete and clear coated. It ended up having some nice colouring in it once finished in a nice smooth satin
-
kickinback
- 50 BMG
- Posts: 3991
- Joined: Sun Jan 07, 2007 11:54 am
- Favourite Cartridge: 260 Rem
- Location: Lilydale Vic
Re: DIY - New Build Project
Wow. Looks great.
-
jacksaligari
- .223 Remington
- Posts: 448
- Joined: Sun Nov 22, 2009 8:24 pm
- Favourite Cartridge: 6br
- Location: Central victoria
Re: DIY - New Build Project
Lookin good al